
I'm back with another makeup tutorial for you all! Today's tutorial will be a super simple makeup tutorial that I'm pretty sure everyone will be able to master in no time! To those that are new to makeup, let me tell you a secret: eyebrows define your face. I know most that are new in makeup tend to overlook eyebrows and straight dive into eyeliners and mascaras (because I did this when I was younger) however, before eyeliners and mascaras, eyebrows are what you need to master to change your look. Don't believe me? Take a look at the photo below
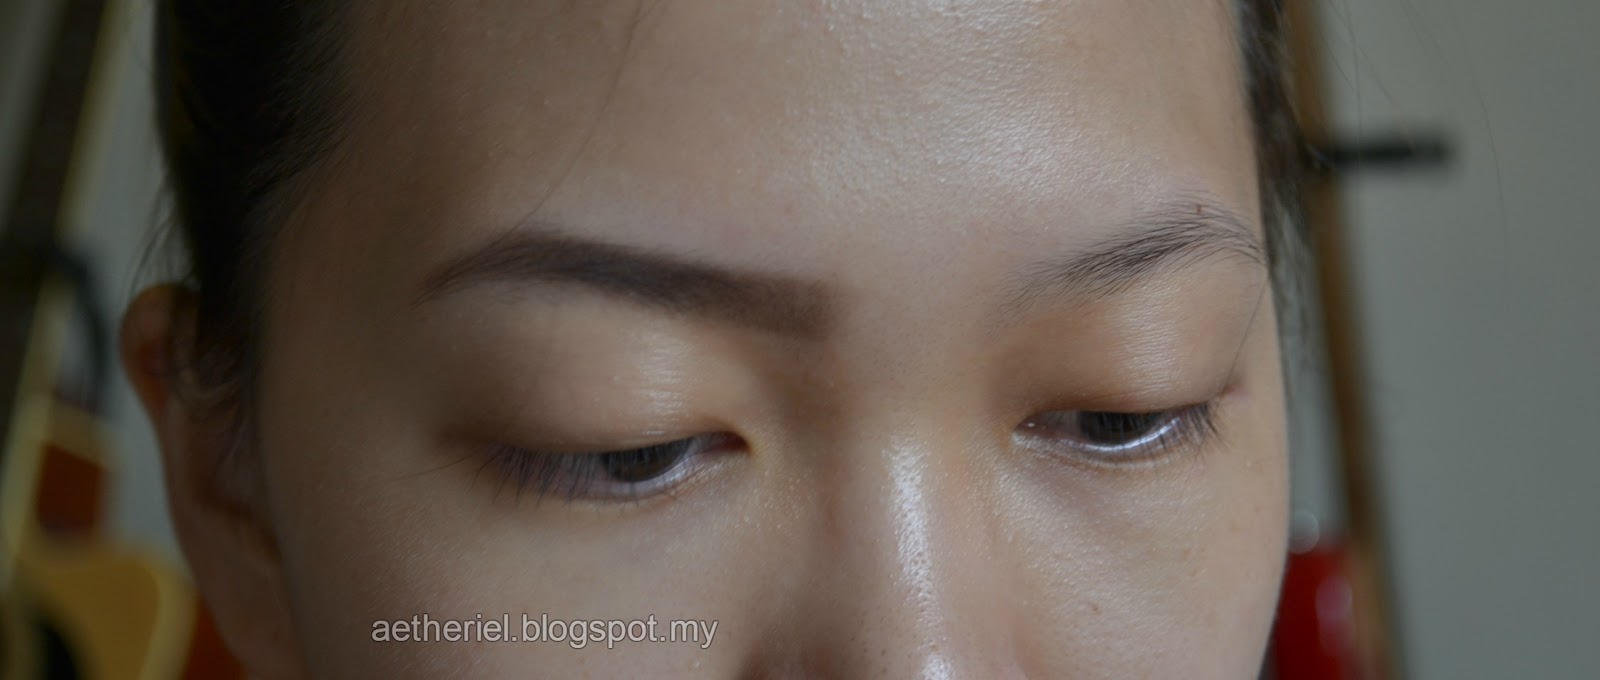
Are you sold yet? I hope you are ;) Look how define my face looks with my eyebrows done and how my face just looks terrible without anything? That my friends, is the secret of having a perfectly defined face. Now, maybe some of you will be calling this as 'drawing on' my eyebrows but I have very little eyebrow hair to start with (this is the same for my eyelashes sadly) and if I don't draw it in like this you would probably not see a difference on my face. However, to those with actual hair on your eyebrow with sparse areas, you can still follow these steps but use a lighter hand and don't apply too much product on your eyebrows to avoid making it look too harsh.
Things you'll need:
1. Eyebrow powder (or a dark brown eyeshadow if you don't have eyebrow powder)
2. Angled brush
3. Spooly (the wand that looks like a mascara brush; if you don't have a spooly you can always use one of your dried out mascara brushes as a replacement. Make sure to clean them before usage.)
On to the tutorial:
1. Use your angled brush and line it against your nose. Typically, most people would tell you to line it at the sides of your nose but this will be suitable for those with you know with a slim nose. For those with a larger nose, you have to line it on the tip of your nose like the picture below. If you do this step, you will draw on eyebrows that will make your nose look narrower and having a more defined face. You can refer back to the picture on the top to see how I did my eyebrows closer to center of my nose and it gave a more refined look; and on the other hand without the makeup, my natural eyebrows are more spaced out from my nose, creating a flat look.

Apparently I accidentally cropped out the area I'm supposed to show you so I will show it with this representation:

2. Once you've done that, place a small marker on the area to know when to stop filling in your brows. For illustration purposes, I did mine darker than usual to show you where to place it. When you do it on yourself, it should be very light.

3. Now, you basically want to have a faint outline of how your eyebrow shape would look like. Follow the natural shape of your eyebrow and outline it lightly at the bottom of your eyebrow. Once again I did mine darker than usual for illustration purposes.

4. Once you've outlined the bottom, slowly fill the areas of your brow that need filling in. Start from the middle and work your way back. Remember to follow the shape of your eyebrows!

5. Now work your way towards the front of your eyebrow, and when you do this part, the product left on your brush should be the excess product left. However if there's still too much product left, just grab a tissue and work out the excess product. Basically why you want your brush to have a small amount of product left on your brush when you do the front area of your brow is to have that natural soft eyebrow look. If the front of your eyebrow matches the rest of your brows, it will come off as being too harsh and funny looking.
6. Repeat step 1-5 for the other side of your brow.

7. You're almost done by this time, and to have the finishing look, use a spooly to brush through your brows to soften up the look.

8. To remove that harsh line at the front of your nose ( due to the marker ) use your fingers to gently smudge it. It will soften up the look and remove the line slightly and make it into a gradual blend of color.

And you're done!
After practicing doing your eyebrows for a while, you won't be needing a marker anymore and you won't need to erase that line in step 8. Once again, this is super easy to do because all you're really doing is following the natural shape of your eyebrow!
I also would like to apologize for my bare face aside from my eyebrows. I know most makeup tutorials on blogs and on youtube have full makeup on, but due to my extremely sensitive skin and being terrible allergic to makeup, I cannot put makeup unnecessarily. At the moment, I am currently swearing off makeup until February to let my face relax a little. This year I've put way too much makeup for my face to handle and it became so terrible I can't stand it anymore. Therefore, I would like to apologize in advance for any bare faces in advance for other tutorials! Aside from that depressing thoughts, I hope everyone enjoyed this makeup tutorial!
With love,
Aly


0 comments:
Post a Comment